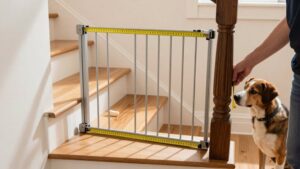
Are Pressure-Mounted Gates Safe for the Top of Stairs? The Real Risk
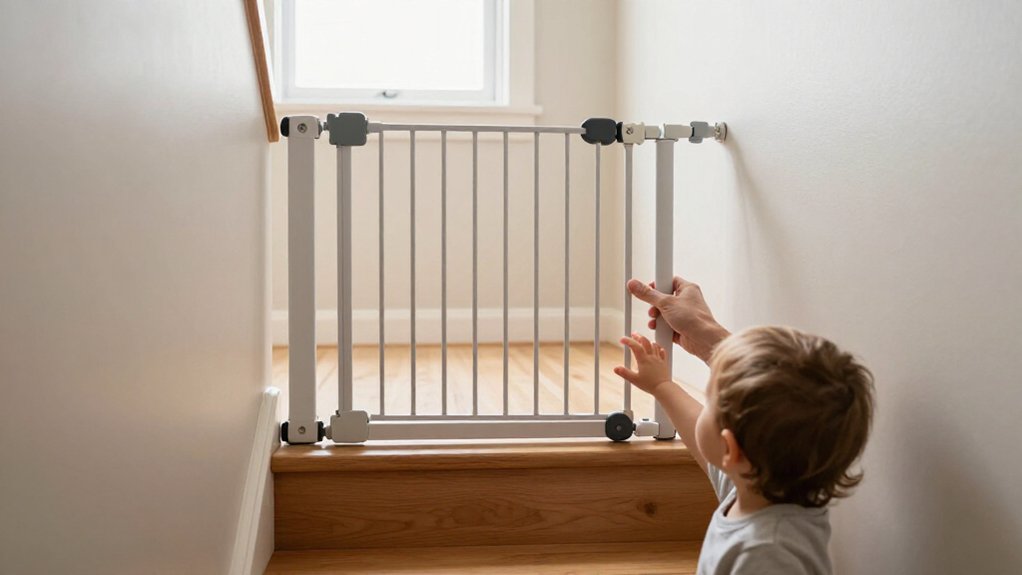
No, you shouldn’t use a pressure-mounted gate at the top of stairs. Leaning, bumps, or slick and uneven surfaces can loosen its friction fit, even when the gate looks closed. A shift can expose the landing edge and create a fall hazard.
Choose a gate approved for stair-top use, hardware-mount it to a wall stud or solid post, and follow its instructions. You’ll also want to know how adapters, latches, and routine checks affect safety.
Why Pressure Gates Can Shift
Pressure-mounted gates depend on tension and friction against walls or posts, so an uneven, slick, or poorly fitting surface can weaken their hold.
You may not notice a problem until a child leans on the gate or a pet bumps it. That force can shift or dislodge the frame, and moving gate parts or settling walls can gradually loosen its tension. Round or decorative banisters also make it harder to create a secure pressure fit. Extensions can add leverage, increasing the chance that a push will move the gate.
Once it shifts, you can’t rely on it as a barrier. Check the fit frequently: press gently on the gate and confirm it remains snug and correctly positioned. Don’t assume an apparently closed gate is secure. At the top of stairs, choose only a model the manufacturer approves for that location, and follow its installation instructions as directed.
The Landing Edge Problem
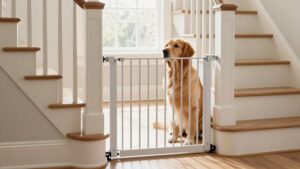
At the top of the stairs, a shifting gate can leave the landing edge unprotected: a child leaning on it or a pet bumping it may push it out of place, creating a direct fall hazard. If it moves, the opening may no longer be blocked, exposing someone near the edge to a fall.
| Check | Risk | Action |
|---|---|---|
| Label | Approval | Verify |
| Mount | Movement | Hardware |
| Bar | Trip | Clear |
Check the label and manual: many pressure-mounted models aren’t approved for stair tops. Choose a hardware-mounted gate approved for that location. Keep it from swinging over the steps, and confirm it’s firmly attached and fully latched whenever you use it. A floor bar can also trip you, especially while you’re carrying a child; clear the landing and use a safer setup.
Child Leans on Gate
When a child leans on a pressure-mounted gate, the force can overcome its tension and friction, shifting or dislodging it. Because the gate depends on pressure rather than screws, a push may move it out of position. Uneven or slick walls, decorative banisters, or an imperfect fit can make that movement more likely.
If the gate shifts, it may leave an opening or fail to block the stairs, exposing your child to a serious fall risk. For the top of stairs, choose a hardware-mounted gate approved for that location, and check its fasteners regularly. Keep the gate closed, and supervise your child near the stairs; no gate replaces your attention. If you notice movement, stop using the gate until you’ve installed a secure alternative.
Banister-Mounted Gate Adapters
If your banister’s round or decorative shape won’t hold a gate bracket, a compatible adapter can provide a flat mounting surface without improvised drilling. Choose an adapter and hardware-mounted gate approved for your banister and stair-top use, then follow both manufacturers’ installation instructions. Push the gate to check that it won’t shift or swing over the stairs, and inspect the straps, bolts, and fit at least weekly.
Protecting Banisters
Banister-mounted adapters can protect a wooden post from drilling, but they’re safe only when the adapter fits both the banister and the gate. Before you buy, check the adapter’s stated post dimensions and shape against yours. Round, square, decorative, or uneven banisters may leave gaps or prevent a stable fit.
Match the adapter to a gate whose manufacturer approves that combination for use at the top of stairs; don’t improvise with straps or hardware. The gate itself must be securely hardware-mounted and mustn’t swing out over the steps. An adapter doesn’t automatically make a pressure-only gate safe for stairs, unless its maker specifically approves that setup. After fitting, check attachment points weekly for looseness and inspect straps and other parts for wear over time.
Secure Adapter Installation
Secure a banister-mounted adapter only if both its maker and the gate maker approve that exact combination for use at the top of stairs. Mount the adapter to a solid post or another structural point; don’t rely on pressure, adhesive, or a weak or decorative banister alone. Follow the adapter’s instructions and use only its specified hardware.
Improvised drilling or an unapproved adapter can damage the banister or leave the gate poorly secured. Before use, confirm the gate opens toward the landing, not over the stairs, and that its latch engages as intended. Don’t substitute parts or change the mounting method to make an incompatible setup fit. If the instructions don’t clearly permit top-of-stairs use with your gate, choose a different approved mounting solution.
Checking Gate Stability
After installing an approved banister adapter, check that it’s secured to a firm post and that the gate stays snug when pushed. Decorative, uneven, or weak banisters may not hold the adapter reliably. Use only an adapter approved for your gate, and follow its installation instructions.
Test the latch repeatedly after installation. The gate should close and lock securely without shifting. Check the gate and adapter weekly for loose straps, bolts, or screws, and look for any movement. If the pressure fit shifts, don’t rely on the gate as a barrier until you correct the problem.
An adapter doesn’t make a pressure-mounted gate safe at the top of stairs. Use a hardware-mounted gate approved for that location. Close and lock the gate every time.
Wall Surface and Trim
Before installing a gate, inspect your wall material and confirm it can provide a stable contact surface. Check that trim is strong and flat; decorative or rounded trim can keep the gate from sitting securely. Avoid uneven surfaces, and use a hardware-mounted gate at the top of stairs rather than relying on pressure against trim.
Inspect Wall Material
Check both mounting surfaces for flat, solid contact; uneven walls or trim can keep a pressure-mounted gate from fitting securely. At the top of stairs, don’t trust tension against drywall or plaster alone. A pressure gate needs surfaces its manufacturer approves, and slick finishes, decorative trim, or rounded banisters can reduce its grip. If the gate shifts, it can’t reliably block a child’s path.
Read the manual before installation. Confirm which wall materials the gate supports and whether you must use wall cups to meet its safety requirements. Don’t improvise with adapters or drill into surfaces the instructions don’t approve. If your walls or posts don’t match the gate’s specified mounting conditions, choose a model designed for that setting. For stair-top use, follow the manufacturer’s instructions exactly; a secure fit depends on compatible surfaces, not simply tightening the gate harder.
Check Trim Strength
Because pressure-mounted gates depend on tension and friction, weak or uneven trim can make them unreliable. You should check that each mounting surface feels flat and sturdy, with trim able to hold firm contact. Don’t treat a tight initial fit as proof; pressure can shift, and a push may loosen the gate.
Follow the manual’s requirements, and don’t add adapters or drill into trim unless the manufacturer approves that setup. At the top of stairs, choose a hardware-mounted gate secured to a suitable wall or post.
| Check | What to assess | Safer response |
|---|---|---|
| Strength | Trim feels solid | Don’t rely on loose trim |
| Contact | Gate pads sit firmly | Recheck under a push |
| Setup | Manual permits surface | Skip unapproved adapters |
| Mount | Wall or post is suitable | Secure hardware mounting |
If trim can’t support the mount, don’t use pressure mounting at stair edges.
Avoid Uneven Surfaces
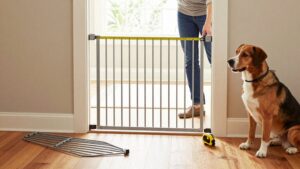
Uneven walls, projecting trim, or gaps can keep a pressure-mounted gate from gripping securely. Pressure-mounted gates need even surfaces to hold tension; projecting molding can leave contact unstable. Before you choose a gate, measure the opening and check that both sides offer flat, stable contact.
Don’t assume a tight fit means secure installation. If the surfaces don’t suit the gate, it may shift or come loose. At the top of stairs, don’t rely on a pressure-mounted gate to protect you. Check the manual for approved mounting surfaces, and use only specified wall cups or hardware.
Don’t improvise adapters or drilling methods. If trim or wall surfaces are uneven, choose a top-of-stairs-approved gate that you can hardware-mount securely to suitable wall framing or a solid post.
Pressure Gates in Doorways
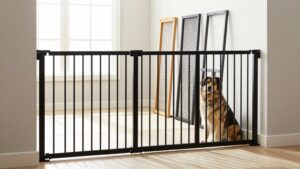
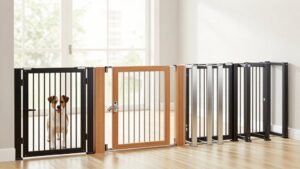
Pressure-mounted gates can work well in doorways between rooms, where a shift is less likely to cause a dangerous fall. They rely on tension and friction, so check that both sides sit against even surfaces and the gate fits your measured opening. Follow the manufacturer’s directions, including installing wall cups when required.
Because pressure can loosen, inspect the fit frequently and confirm the latch fully engages every time you close it. These gates generally offer less security than hardware-mounted models, so use one only where movement wouldn’t create a hazard.
| Check | What you do | Why it matters |
|---|---|---|
| Fit | Measure opening; check even sides | Reduces shifting |
| Use | Follow directions; test latch | Supports secure closure |
Never rely on one where a fall could injure you.
Check Current Product Recalls
Read the notice for hazards, affected production dates, and the remedy. It may call for a repair, replacement, or refund. Follow instructions and verify any required repair is complete before use. If your gate appears on the list, or you can’t confirm whether it’s affected, don’t use it at the top of stairs.
Contact the manufacturer with the model and production details for guidance. Complete the recall remedy before relying on the gate for stair safety.
Gate Left Unlatched
Even a brief lapse can leave an open path to the stairs, so close and latch the gate every time you pass through.
You can’t rely on an automatic-close feature; it may not engage fully. Check that the gate has shut, then listen for the latch to click. Learn how its latch works, and show each caregiver or visitor how to secure it.
- Choose a latch you can operate easily but your child can’t open.
- Test the latch repeatedly after installation and during routine checks.
- Stay close to your child near the stairs; a closed gate doesn’t replace supervision.
An open gate can let your child reach the steps before you notice. Build a consistent habit: close, latch, and verify each time you pass.
Anchor the Gate to Studs
At the top of stairs, secure a gate designed for that location to wall studs or a solid post—not to drywall or plaster alone. Stud-mounted screws connect the gate to your home’s structure, so a child has a harder time pushing or pulling it loose than with a pressure-only fit.
Follow the gate’s installation manual to identify suitable mounting points. Use only the specified screws and hardware; don’t improvise with unapproved adapters.
After installation, test that the gate stays firmly attached. Check its bolts and straps weekly for looseness or movement. If anything shifts or loosens, tighten it according to the manual before using the gate again. A secure anchor supports the gate’s intended use, but it doesn’t replace proper latching and supervision.
Conclusion
Before you choose a gate, consider how it’s installed and how your child may use it. Pressure-mounted gates can shift under force, especially at stair landings, so use a hardware-mounted gate at the top of stairs, anchored to studs. Check that the gate fits securely, latches every time, and has no dangerous gap at the edge.
Follow the manufacturer’s instructions, check for recalls, and never leave the gate unlatched. A few routine checks can help reduce risk.