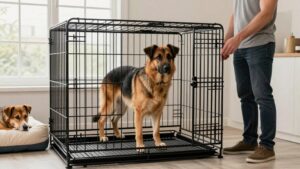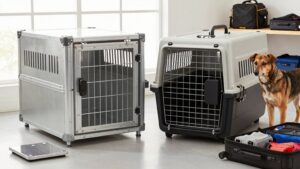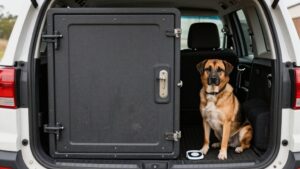
How to Measure Your Car for a Dog Crate: Hatch, Cargo Floor and Angles
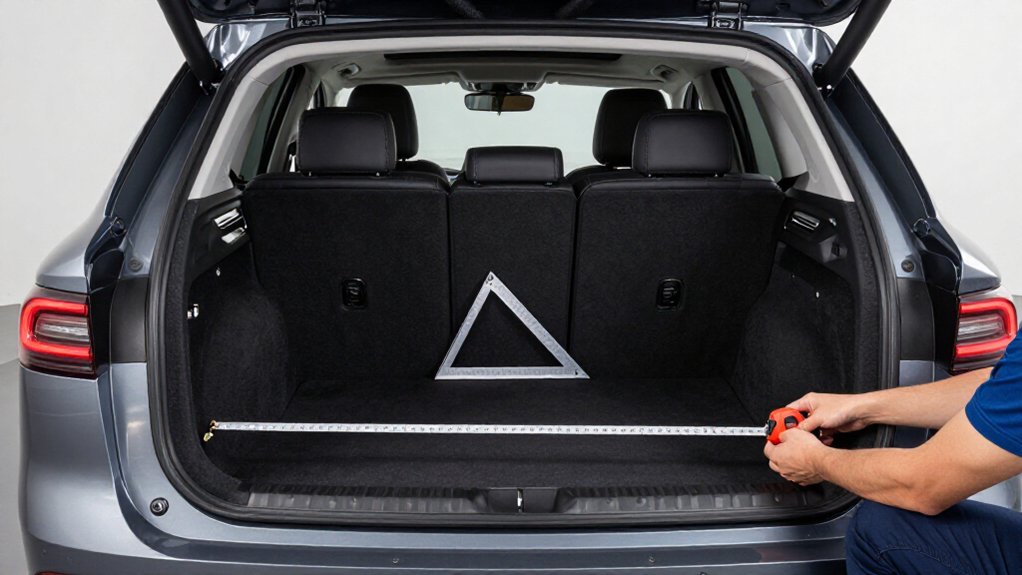
Measure cargo width between wheel wells, including raised trim, and record the narrowest spot.
Check floor slope across the crate’s footprint, measuring front-to-rear rise and length.
Open the hatch; measure its narrowest opening width and vertical clearance from the cargo floor.
Record usable floor length to the hatch’s inner face, with seats in their travel position, and check seatback clearance.
Identify tie-downs, secure the crate, and push it forward.
Inspect latches.
Continue for fit and safety checks.
Measure Wheel-Well Intrusions
Measure the narrowest width between the wheel wells on the cargo floor, then check it again at the height where the crate will sit; these intrusions can limit usable space more than the liftgate opening.
Slide your tape from left to right across the floor in 1–2-inch increments to spot curves or brackets that create a pinch point. Include raised seams and trim ridges beside the wells; they can stop the crate sitting flush and reduce usable width.
Record how far the intrusions extend toward the seats; a crate may fit width-wise but lack forward clearance. If you’ll install it across the direction of travel for stability, measure in that orientation and add a few inches of clearance to slide it in without scraping.
Check Cargo-Floor Slope
Even if the cargo floor looks flat, measure your crate’s intended footprint from its lowest point to its highest, checking front to rear to estimate how much the crate will tilt and shift during braking.
Record the height difference and footprint length; the larger the rise, the greater the angle. Then check:
- Whether rear seats form a level platform, without a hinge hump or sag.
- Whether a ramped or stepped sill keeps the crate from sitting flush.
- Whether trim or tie-down anchors affect placement; gently push the crate to test for rocking.
If you can’t level the footprint, reposition the crate or add a non-slip rubber liner, then push again and confirm it won’t slide before driving.
Step 1: Open the Rear Hatch
Open the rear hatch fully and measure the loading opening at its narrowest point, often near the roofline or hinges—not across the wider cargo floor. Measure vertical clearance from the cargo floor to the lowest point of the open hatch. Include trim panels and roof supports; they can reduce usable height.
Check whether the hatch edge slopes into the opening, and note the rear threshold or bumper lip height. These details affect the crate’s entry angle and whether you can slide a tall or long crate past the liftgate without tilting it awkwardly.
If you fold or reposition rear seats, repeat these checks; an angled seatback may alter the route through the hatch. Before choosing a crate, test the exit path too: guide an imaginary crate back out and check its tip and clearance in reverse, since removal may require a different angle than loading it into place initially.
Step 2: Record the Narrowest Cargo Width
At floor level, record the cargo width between the innermost surfaces where the crate will sit, checking near the wheel wells and fixed trim or speakers for the narrowest point. Don’t measure the trunk at its widest span; sloped sides can make a higher reading misleading. Record the result in inches or centimeters, then subtract a few centimeters or inches for clearance.
Check the width at a side-opening hatch or rear-door lip, where the crate must pass through the tightest part of the route. If you fold seats, repeat the measurement across the platform; confirm it doesn’t form a narrower channel or keep the crate from sitting flush and stable. For a large rigid XXL crate, differences matter, so use the smallest recorded width when choosing a crate size.
Step 3: Measure Usable Cargo Length
Measure usable cargo length along the floor from the seatback, or the folded-seat end, to the inner face of the hatch or liftgate, not the outside bumper. Keep your tape and record the distance in inches. If the rear seatbacks don’t form a level platform, measure with them in their position; a step or slope can reduce the effective length.
For a sloping tailgate or hatch window, check where the crate’s corners would contact first and use the shortest loading-path measurement. In an SUV, measure along the floor centerline, then note the length where the wheel wells narrow the space. The crate must slide in without binding. Subtract a few inches for clearance so you can position it without scraping trim and remove it when the fit is tight.
Step 4: Measure Hatch Opening Height
To check whether the crate can pass through the hatch, measure from the flat cargo floor or cargo mat to the lowest point of the opening at its narrowest spot, often near a curved liftgate or above the bumper lip. Keep the tape vertical and use the cargo floor as your zero point; don’t measure to the upper edge of the tailgate. Record the result with the seats in their usual travel positions, including any fold-down third-row adjustment, since that can change how the load floor sits.
If you’ll use bedding or a pad, add its thickness to the crate’s required clearance. Compare that effective height with your measurement before choosing a crate. Keep this figure with your cargo-length notes for easy comparison.
Step 5: Test the Crate’s Loading Angle
Even if the crate fits through the hatch, its loading angle may bring it into contact with the roof slope or hatch lip.
Before choosing a crate, place it, or a close cardboard mockup, at the hatch opening height. Slide it slowly in your intended travel orientation. Measure clearance from the cargo floor to the lowest liftgate or roofline point at the narrowest point; a sloped hatch can block loading despite sufficient floor length.
If your seats fold, check that their platform sits level with the cargo floor; a step or tilt can make hatch contact more likely. Once positioned, nudge the crate side-to-side. If it wobbles or settles at an angle because of the slope, choose a different size or configuration.
Step 6: Assess Tie-Down Points
Once the crate is positioned, identify solid cargo-area tie-downs, such as factory hooks, welded anchors, or frame-mounted rings. Never clip straps to trim panels, speaker grilles, or flexible plastic; these parts may fail in a crash. Check that each anchor sits within reach of the crate’s designated tie holes and that your strap length allows attachment with the hatch open or closed as needed.
Route ratchet straps or bungee cords through tie holes, tightening only until the crate feels snug and stable; don’t stress door hardware. On a sloped floor or lip, set the base flush on a non-slip mat so straps prevent sliding. Plan enough strap length for the hatch position.
For a wide crate, add an opposite-side strap. Push the front edge sideways and forward; check for wobble, lift, or grinding contact with the hatch door.
Check Seatback Recline Clearance
With the rear seatbacks set to the exact recline angle you’ll use, measure from the cargo floor to the lowest obstruction above the crate’s highest point, including the roof liner, hatch curve, or seatback frame. Measure at your chosen angle.
Check the crate’s door and upper corners, not just its center; a reclined seat can cut several inches from usable height. If the hatch slopes, check clearance at the center and near both side rails, where the angle may tighten the fit.
Place the crate flush against the seatback, then gently push it into position and recheck the front upper corner. Keep a few inches of spare clearance so you can load and remove the crate without scraping angled trim or the seatback mechanism.
Crate Rocks During Braking
If the crate shifts when you brake, it isn’t securely fitted. A loose crate can become a projectile or injure your dog. After placing it, tug firmly side-to-side, then push and pull forward. It should stay flush against the cargo floor or rear seatbacks. If it rocks, recheck hatch slope, threshold clearance, and level position.
| Check | Test | Correction |
|---|---|---|
| Side-to-side tug | No shift | Reposition crate |
| Forward push/pull | Stays flush | Adjust placement |
| Floor contact | Level base | Add rubber mat |
| Cargo hooks | No movement | Strap to hooks |
Place a non-slip rubber liner beneath the crate to reduce sliding on turns and emergency stops. Secure it to cargo hooks with ratchet straps or bungee cords, looping through vent holes where appropriate. Repeat the push-pull test before every trip.
Inspect Crate Latches
After confirming the crate won’t shift during braking, inspect its latches before measuring fit.
Inspect every door latch and locking bolt; this hardware is a safety component. Check that each latch engages fully, without scraping, wobbling, or leaving a gap. Apply gentle pressure to the hinge side; bowing can indicate alignment problems.
Examine corner joints and bolt channels near the latch mounts. Tighten nothing unless your crate instructions allow it; note any separation or looseness, which could create an escape route. With the crate empty, push and pull the door. Confirm it stays closed and the lock holds without shifting.
If metal bolts secure the door, check that their presence and engagement meet airline and road-trip needs for rigid locking under loading vibration or sudden braking.
Conclusion
Before you buy, compare the crate’s exterior dimensions with your car’s tightest measured width, usable floor length, hatch opening, and available height. Account for wheel wells, floor slope, seatback angle, and latch clearance, not just the cargo area’s advertised size.
Test-fit the crate, secure it to the tie-down points, and check for rocking by pushing it firmly. A snug fit should let the hatch close without contact and keep the crate stable during braking.
Dog Crate Size Calculator
Turn your dog's nose-to-tail-base length and standing head height into a nominal crate size (24–48 in), with a weight cross-check.