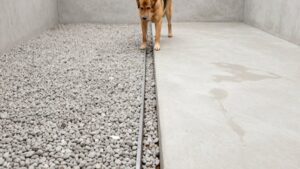
How to Disinfect a Dog Kennel With Pet-Safe Products
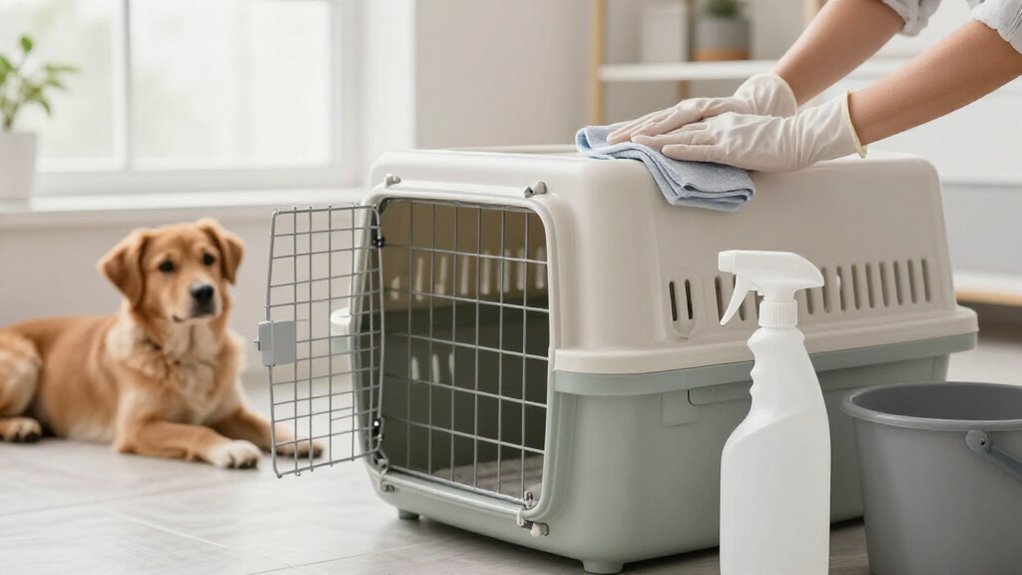
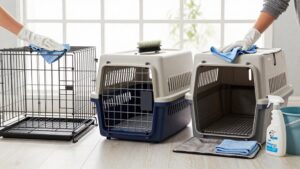
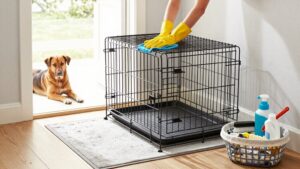
Move your dog, bedding, bowls, and toys to an area. Remove waste and loose debris, then wash kennel surfaces with detergent and rinse.
Choose an EPA-registered disinfectant labeled for your pathogens and kennel materials; follow dilution directions and keep surfaces wet for the full contact time.
Ventilate, keep pets away until surfaces are dry, and rinse as directed.
Wear gloves, discard them, and store products sealed in original containers.
More odor tips follow below.
Disinfection Contact Time
Follow the disinfectant label’s contact time exactly—the surface must stay visibly wet for the entire period for the product to work as claimed.
Contact times depend on the product and target germ, so a single routine won’t suit every cleanup. Rescue lists intervals ranging from 30 seconds to five minutes; that five-minute period applies only to certain uses. For canine parvovirus, some kennel-cleaning instructions specify two minutes, while Virkon S is described as killing bacteria and fungi in under five minutes and parvovirus in under 10.
Keep your dog, other animals, and equipment away while the treated area remains wet. If the surface dries too soon, the disinfectant may not deliver the stated effect, so reapply as directed.
When the required period ends, rinse only if instructed, then let the kennel dry completely before bringing animals back. These steps help protect pets without cutting corners, and safely.
Check Product Label Contact Time
Before disinfecting, check the product label for the contact time—the period the surface must stay visibly wet for the disinfectant to work as directed. Don’t estimate or stop when the kennel looks clean: follow the time printed for that product and use. Keep treated areas visibly wet throughout; if they dry early, reapply as the label permits and restart the timing.
- Rescue formulations may require 30 seconds to 5 minutes, depending on product and use.
- For canine parvovirus, one supplied procedure specifies 2 minutes; verify your product’s label.
- Virkon S is listed for bacteria and fungi in under 5 minutes, but parvovirus in under 10.
Those differences matter: use the labeled time for your target pathogen, then follow directions for rinsing, drying, and reuse.
Step 1: Remove Dogs and Bedding
To protect your dogs and keep the kennel clear for cleaning, move them out and remove bedding, bowls, toys, and other items they use. Keep them in a separate, secure area throughout cleaning and disinfection; don’t let them return until every treated surface is fully dry and safe according to the product label. This protects them from accidental contact with wet disinfectant and reduces the chance that they’ll disturb your work.
Place removed bedding and equipment outside the treated area until the label’s contact time has passed and the kennel is dry. Wash bowls and clean removable items separately, following their product directions. Rinse anything that touches food or drinking water with potable water before reuse. Store them away from treated kennel surfaces.
Step 2: Rinse Away Loose Debris
With the dogs and their belongings out of the kennel, clear away visible feces, hair, food scraps, and other loose debris so washing won’t spread it. Use a scoop or disposable gloves to collect waste and discard it safely. Then hose down the kennel to wash away remaining loose dirt before you scrub any surface.
Pay close attention to floors, corners, panels, and seams where debris can collect. If the kennel has a drain, direct runoff away from pets and food areas, and follow local rules for wastewater. Rinsing first helps remove organic matter that may shield germs and reduce the effectiveness of later cleaning products. Work methodically so you don’t leave dirty pockets behind. Let surfaces drain briefly before moving on to scrubbing.
Step 3: Apply Pet-Safe Disinfectant
Once the surfaces are clean, choose an EPA-registered disinfectant labeled for the pathogens you need to control, including canine parvovirus if it’s a concern, and check that it’s suitable for your kennel’s materials.
Remove animals, bedding, bowls, toys, and feed, then clear waste and wash with detergent; organic matter can shield germs. Dilute and apply the disinfectant exactly as the label directs, keeping treated surfaces visibly wet for the full contact time. For parvovirus, some products require two minutes, while others specify five to ten, so follow your product’s instructions.
Keep dogs out during treatment, ventilate enclosed spaces, and rinse food- or water-contact equipment with potable water if the label requires it. Let surfaces dry fully before dogs return; take extra care to protect puppies from chemical exposure and irritating fumes too.
Step 4: Scrub Kennel Corners Thoroughly
After removing dogs, bedding, bowls, toys, and visible waste, scrub kennel corners with hot water, detergent, and a stiff-bristled brush. Removing debris first matters because organic material can shield germs from cleaners, reducing their effectiveness. Work the brush along seams and panel edges, where hair, grime, and residue can build up.
Give floor-wall joints and gate-latch areas extra attention; residue may remain there even after rinsing. Use steady pressure rather than rushing, so you lift soil without damaging kennel surfaces.
Rinse thoroughly before applying a pet-safe disinfectant, then keep surfaces wet for the label’s full contact time. Keep dogs out until treatment is complete and everything is dry. If the label directs, rinse food- and water-contact equipment with potable water before returning it to use.
Step 5: Inspect Grout and Drainage
Inspect grout lines for cracks, gaps, or crumbling, where dirt and organic waste can collect and shield germs from disinfectant. Check floor drains and nearby areas for trapped hair, feces, and standing water; remove debris before washing and disinfecting. Scrub grout and drain edges with detergent and a stiff brush, then rinse away visible soil before applying disinfectant.
Keep these surfaces wet for the full contact time listed on the product label; this allows the disinfectant to work as directed. Rinse afterward if the label instructs you to do so.
Let the area dry fully, then check that water drains freely before returning dogs, bedding, bowls, or toys. These checks help you address hidden soil and lingering moisture, which can undermine sanitation and comfort.
Step 6: Dispose of Used Gloves
When cleaning and disinfecting are finished, remove your gloves without touching their contaminated outer surfaces with bare hands. Peel one glove inside out, hold it in your gloved hand, then slide bare fingers beneath the other cuff and peel it over the first.
Place single-use gloves in a sealed rubbish bag, following local waste rules. Never reuse disposable gloves; replace them if they tear or become heavily soiled.
Keep discarded gloves away from dogs, puppies, and other animals, which could chew or swallow them. Then wash your hands thoroughly with soap and water. This removes contamination you may have missed while removing gloves and helps protect you and the animals in your care. Use a new pair if you resume the cleaning task later.
Check for Slick Residue
With your gloves safely discarded and hands washed, check the kennel floor once the disinfectant has stayed wet for the contact time on its label.
Look for a slick film that could make your dog lose footing. Follow the label’s rinsing directions; when you’ve treated bowls or equipment that touches food or drinking water, rinse them with potable water. Use the labeled dilution, since excess concentrate can leave residue and may damage kennel surfaces.
Rinse the floor if residue remains, then dry it. Wait until surfaces are dry before returning your dog, bedding, or bowls. This helps limit contact with wet product or residue and gives your dog a safer footing.
Persistent Kennel Odors
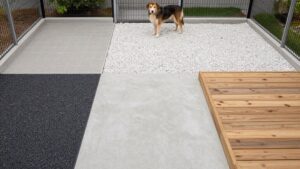
Persistent kennel odors usually come from residue left in the surface, not a lack of fragrance. Remove solid waste, then wash the area with detergent before using an odor remover or disinfectant. Enzyme-based cleaners break down proteins in urine and feces, so they target the source instead of masking it.
| Clue | Helpful response |
|---|---|
| Lingering waste odor | Use enzyme cleaner |
| Odor on concrete | Pre-soak, scrub, rinse |
Porous concrete absorbs odors, so pre-soak it, apply cleaner, scrub with a stiff-bristled brush, and rinse thoroughly. Orb-3 Enzyme Kennel Cleaner suits soils on runs, concrete, and turf. Angry Orange uses orange oil to neutralize odors. Skip heavy perfumes: their scent may fade while odor remains, and strong fragrance can bother your dog’s sensitive nose.
Replace Disinfectant Bottles Properly
Replace disinfectant when it expires or its label says it’s no longer effective; diluted bleach needs a fresh batch every 24 hours. Check the product label before each use, since effectiveness and storage requirements vary. Keep every bottle in its original, clearly labeled container, and follow the stated temperature and light conditions.
Seal containers tightly after use, then store them where your dog and children can’t reach them; a closed, secure cabinet helps prevent spills and accidental ingestion. Never mix disinfectants or pour them into an unmarked bottle. Combining products can create dangerous reactions, while relabeling errors may lead you to use the wrong concentration or product. If a container leaks, keep pets away and follow label directions for cleanup.
Dispose of empty or unwanted bottles as the label and local rules direct. These simple steps help protect your household and keep kennel cleaning reliable consistently.
Conclusion
When you disinfect your dog’s kennel, follow the product label, especially its contact time, and keep your dog and bedding away until the surface is fully dry. Remove debris first, apply a pet-safe disinfectant as directed, and rinse if the label requires it.
Wear gloves, then discard them safely. Check for slick residue and lingering odors before returning your dog. Replace disinfectant bottles properly, and never mix products. These steps help protect your dog.