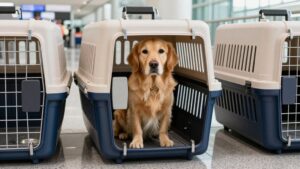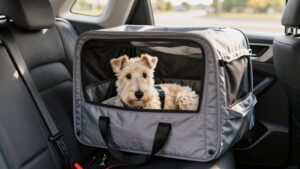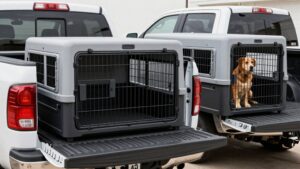
How to Secure a Dog Crate in a Car So It Can’t Slide or Tip
Park on level ground, set the brake, and clear loose cargo.
Place the crate on a non-slip mat, flush against the seatback or cargo wall.
Check that its reinforced bars or handles match approved anchors; lock the door and inspect the frame.
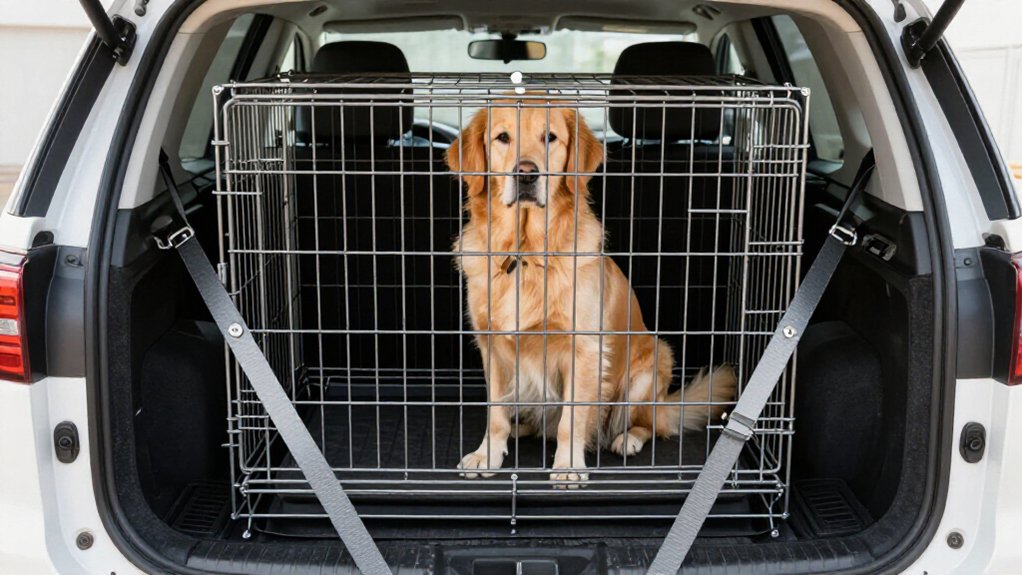
Route compatible ratchet straps parallel through reinforced points, keeping webbing flat and tight.
Tug connections, then push the crate lightly.
Stow strap tails, recheck after driving, and find more ways to prevent shifting below.
Check Anchor-Point Compatibility
Before strapping in the crate, check that your vehicle’s tie-down points and the crate’s restraint-rated loops or bars work together. Use designated cargo hooks, D-rings, or seat anchors so strap loads reach reinforced structure, not plastic trim or seat fabric. Match each strap’s hardware to an approved anchor.
Ratchet straps should connect securely with minimal slack, and you should use the crate’s tie-down bars or handles fully when provided. Route restraint force through the crate frame, never its door, handle, or wire panels. Push and rock the crate. If it shifts toward a door or aisle, stop and choose a compatible anchor or connection before driving. Don’t substitute bungee cords or lightweight non-tether straps; they can stretch or fail under braking forces.
Inspect Crate Attachment Points
Once you’ve confirmed the vehicle anchors match the crate’s restraints, inspect the crate’s attachment points. Find tie-down bars or reinforced handles on both sides; connect straps to these areas. Check each point and its frame for bends, cracks, loose bolts, or misalignment.
- Lock the crate’s door and latch; a closed but unsecured door can’t bear restraint forces.
- Examine strap contact areas for sharp edges or frayed webbing before tightening.
- Route each strap so it stays on the bar or handle as you tighten.
- Tighten straps evenly; don’t let them pull against weak door hardware.
Gently push and rock the crate. If it shifts at all, loosen and reroute straps to the correct points, then retest before driving.
Step 1: Clear Loose Cargo First
Clear the seating or cargo area before strapping in the crate: secure or remove bags, toys, blankets, and water bottles so they can’t shift and push it during braking or cornering. Then wipe the seat or cargo-floor area; dust and debris beneath the crate’s base can reduce grip and let it slide.
Place a thin, non-slip mat under the crate if needed, not thick bedding or a loose blanket that can bunch up. Position the crate flush against a seat back or vehicle wall, leaving less room for it to rack or tip. Before tightening tie-downs, gently push and rock the crate. If it moves, reposition it and remove any remaining loose items, then test again. Secure the crate only after it stays steady.
Step 2: Park on Level Ground
With loose cargo cleared, park on level ground before loading and strapping the crate. On a slope, gravity can pull the crate toward one side and make a stability check misleading. Choose a flat parking spot, set the vehicle’s parking brake, then place the crate evenly on the floor or seat.
Strap it snugly without over-tightening, then give it a controlled side push and gentle rocking motion. If it slides or tilts, adjust its position or change the anchor points and test again before driving. Keep the same strap tension. Uneven ground may hide movement that could worsen during a turn or sudden stop, so don’t rely on a test performed on a slope. Confirm the crate remains stable before allowing your dog to enter.
Step 3: Brace Crate Against Seatback
Position the crate flush against the seatback to leave as little room as possible for it to shift. In an SUV or hatchback, place it in the cargo area against the rear seats; in a sedan, use the back seat as a buffer. Center the crate and keep it parallel to the seatback. Make sure its base sits flat on the floor or seat, not tilted or perched on an edge.
Add a non-slip mat beneath it, especially on upholstery, to reduce sliding during braking.
Once positioned, test stability with a gentle push and rock. The crate should show virtually no movement. Recheck after a long drive or any repositioning to confirm it remains stable. Test again before you set off. Don’t rely on the seatback alone to hold it in place. Take care your dog has room.
Step 4: Route Straps Over Crate Frame
Route each ratchet strap over the crate’s frame tie-down bars or reinforced handles, not the door or plastic walls, and attach its ends to rated vehicle anchors. Keep each strap’s path low and parallel to the crate floor or frame, forming a restraint band that resists forward sliding and rotation.
This routing helps keep the crate from shifting or tipping. Tighten each strap evenly until you feel minimal movement when you gently push or rock the crate. Aim for snug tension; don’t overtighten, since excess force can distort the crate. Remove slack so the restraint engages before the crate can move. After installation, test it with a push, and check it again after long drives. A loose or off-frame strap can let the crate become a collision hazard.
Step 5: Verify Buckle Locks Engage
After buckling the restraint, pull up on the webbing to confirm the buckle has clicked fully into place and won’t loosen. Check that the belt lies flat, without twists, through the crate’s correct run points. A twisted or misrouted strap can tighten unevenly and slip.
Tighten the restraint, then pull the webbing again to make sure the lock holds. Push the crate firmly in directions. It shouldn’t slide or rotate; if it does, inspect the buckle and strap path. Never accept a partial click: sudden braking could shift the crate and turn it into a projectile. Recheck the buckle after an adjustment, then check it again after the first few minutes of driving or after a long stop, when the strap’s position may have changed.
Step 6: Stow Excess Strap Tails
Once the ratchet straps hold the crate snugly without excessive tension, fully retract each strap tail or secure it with the supplied clips. Remove loose webbing that vibration could work free and create slack. Gather excess tail neatly, clear of door edges, seat mechanisms, and your dog’s reach.
Dangling ends can catch, rattle, or interfere during braking or swerves. If you handle tails manually, route them through provided hooks or secure them with quick-release buckles. Don’t use bungee cords; movement can restore slack and let the crate shift.
After installation, gently push and rock the crate, then confirm each strap end remains secured or retracted. After long drives and monthly, inspect ratchet hardware and tail retention for migration or slack. Secure it before driving.
Record Strap Tension Settings
Record the ratchet’s click count or the marked strap length once the crate stays still when you gently push and rock it. After attaching each strap to the crate’s built-in tie-down bars or handles and the vehicle’s anchor points, tighten the ratchet until the crate won’t shift. Aim for snug, not excessive, tension: the straps should prevent sliding or tipping without bending the frame or making the door or latches bind.
Check that no visible slack remains; loose webbing can let the crate move during braking or an impact. If the crate moves during your gentle stability test, retighten and test again until it stays put. Record clicks or strap length for that crate size; reuse and recheck it before each trip.
Fix Strap Slippage On Turns
Even with the tension set, straps can slip on turns if the crate has room to move. Move the crate flush against the seatback or wall; in an SUV or hatchback, place it in the cargo area behind the rear seats. Use heavy-duty ratchet tie-downs, never bungees. Thread them through low, built-in crate-frame bars or handles, remove slack, and tighten both sides evenly.
Uneven tension lets the crate twist, while a starting gap gives straps room to creep.
| Check | Your safe response |
|---|---|
| Gentle push or rock | If it moves, retighten and reroute straps. |
| Long drive or reseating | Recheck tightness; settling can restore slack. |
Test by pushing and rocking the crate; it shouldn’t shift. Recheck after long drives or reseating, since settling can recreate slack before a turn again.
Inspect Straps for Fraying
Before every trip, inspect each ratchet strap for fraying, cuts, loose stitching, or glazed webbing, especially where it contacts the crate frame or anchor points. Look for worn edges and shiny, glazed areas. Check the ratchet for smooth operation, and make sure hooks or carabiner clips latch fully. Reject buckles or metal ends that are bent, cracked, or damaged.
Tug each strap end and connection as you push the crate lightly; slippage may signal worn fabric or weakened stitching. Replace any strap with fraying or fatigued hardware, don’t make do. A stretched or weakened strap can let the crate shift or tip during hard braking or a quick swerve.
After a long drive, or whenever you remove and reinstall the crate, recheck strap condition and tightness.
Conclusion
Before you drive, confirm that your crate’s attachment points match your vehicle’s anchors, clear loose cargo, and park on level ground while securing it. Brace the crate against the seatback, tighten straps evenly, and stow loose tails so they can’t snag.
Record your tension settings for checks. After turns or stops, inspect for movement; replace frayed straps immediately. If the crate shifts or tips, don’t continue until you’ve corrected the setup and tested it again.
Dog Crate Size Calculator
Turn your dog's nose-to-tail-base length and standing head height into a nominal crate size (24–48 in), with a weight cross-check.